
🎄 Chibi Grinch – Free Amigurumi Pattern
Con questo schema potrai realizzare un piccolo Grinch da appendere al tuo albero di Natale, in pochi semplici passi!
👉 Puoi trovare la versione PDF scritta e stampabile di questo schema (only english version- solo in inglese) qui: https://www.ravelry.com/patterns/library/chibi-grinch
👉 Free video tutorial (English): https://youtu.be/-SHc17MDRTs
Iniziamo!
Click here for the ENGLISH VERSION (you can find it by scrolling at the bottom)
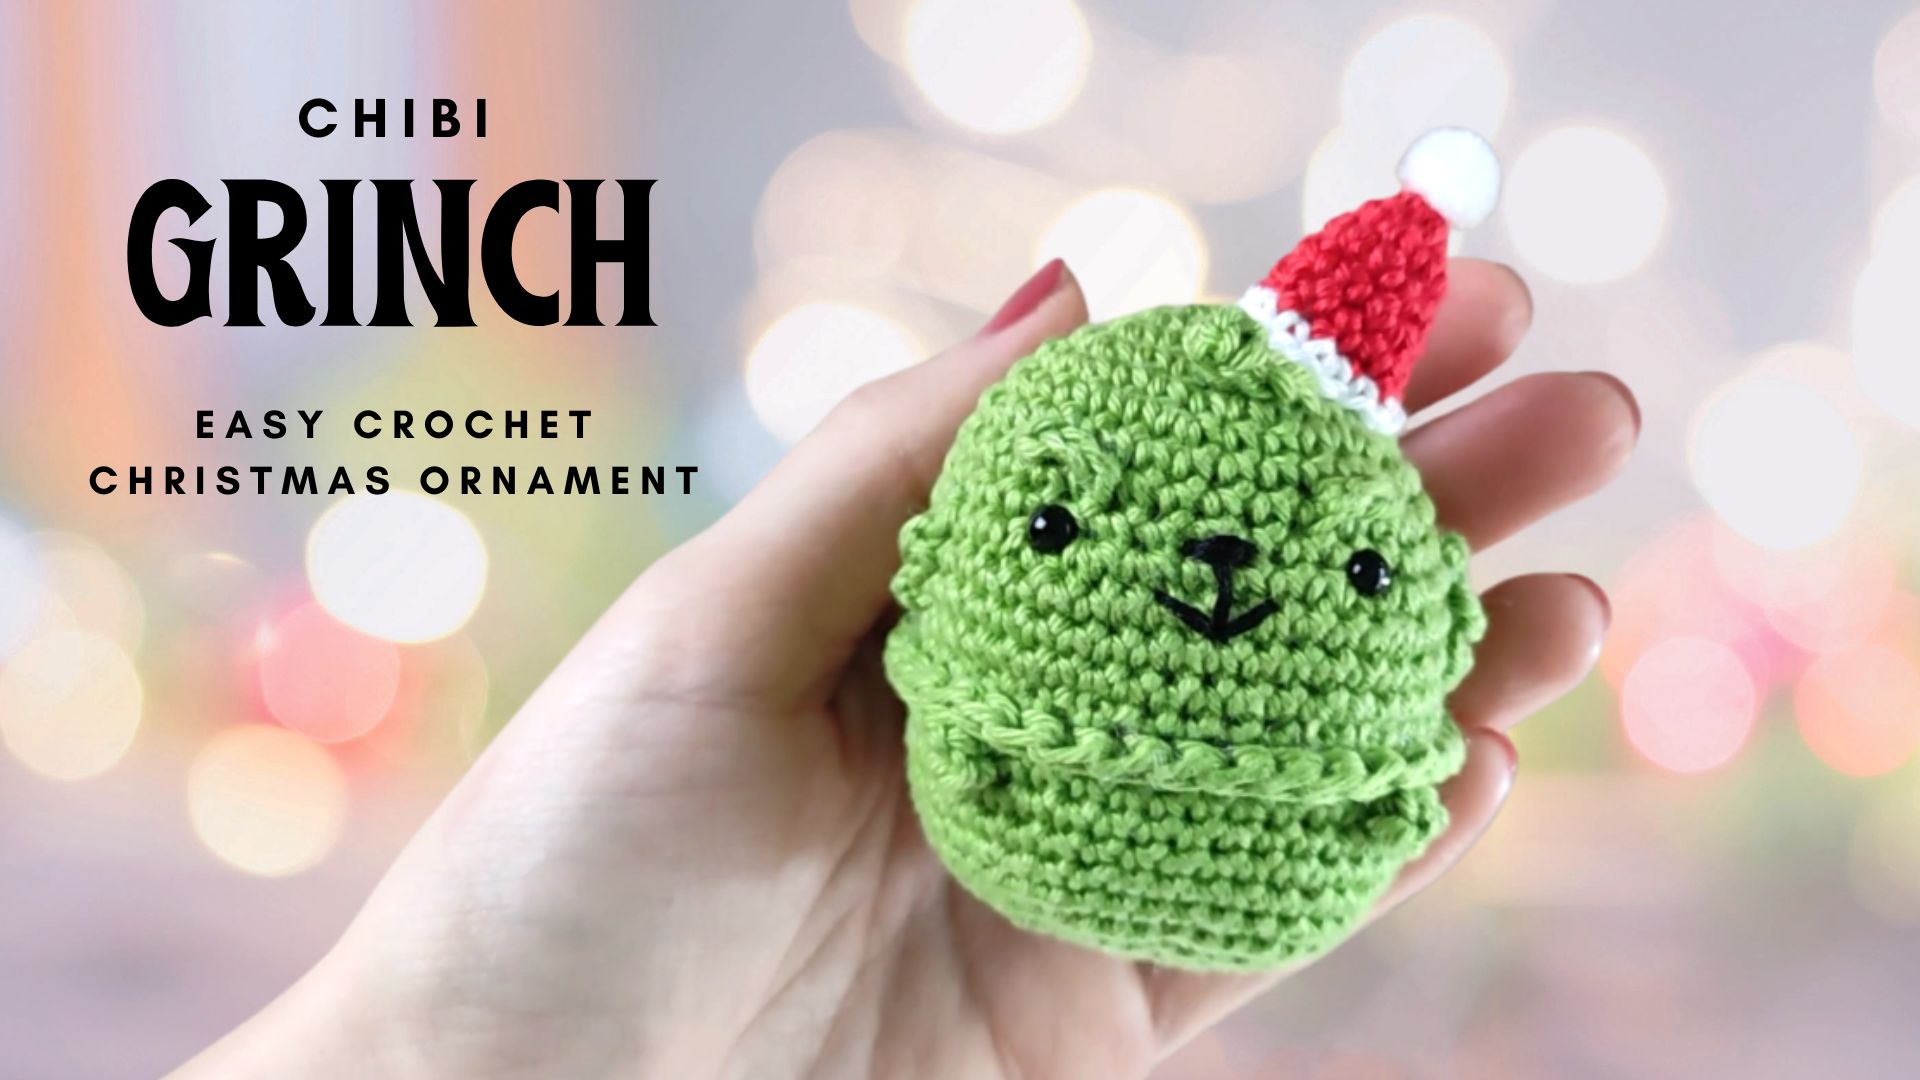
Dimensioni: con questo schema otterrai un piccolo Grinch alto circa 9 cm compreso il cappello (utilizzando il filato e l’uncinetto indicati)
🏅 Difficoltà: Principiante avanzato, questo schema è adatto a chi ha già realizzato qualche amigurumi
📃 Punti utilizzati e abbreviazioni:
- cerchio magico: CM
- cat: catenella
- mb: maglia bassa
- aum: aumento
- dim: diminuzione invisibile
- mbs: maglia bassissima
- mma: mezza maglia alta
- ma: maglia alta
- (…)x … volte: ripetere la sequenza tra parentesi
il numero di volte indicato
🧶 Materiali:
- uncinetto n. 2,75 mm
- filato di cotone di colore verde, bianco e rosso
- 2 occhi di sicurezza diametro 5 mm
- imbottitura in poliestere
- ago, forbici e segnapunti
- n. 1 mini ponpon bianco
- colla per tessuto
👉Info aggiuntive
Lo schema è realizzato con la lavorazione in tondo a spirale.
il corpo è realizzato in un unico pezzo, partendo dalla testa e arrivando in fondo. Tutti gli altri pezzi sono realizzati lavorando direttamente sul corpo.
Per realizzare questo schema ho usato il cotone Catania Schachenmayr (https://schachenmayr.com/en/yarns/catania)
CORPO (in verde)
1. 6 mb nel CM
2. 1 aum per tutto il giro (12)
3. (1 mb, 1 aum) x 6 volte (18)
4. (2 mb, 1 aum) x 6 volte (24)
5. (3 mb, 1 aum) x 6 volte (30)
6. (2 mb, 1 aum, 2 mb) x 6 volte (36)
7-9. 36 mb (3giri)
10. 13 mb (1 aum) x 3 volte, 4 mb, (1 aum) x 3 volte, 13 mb (42)
11-13. 42 mb (3giri)
Posiziona gli occhi tra i giri 9 e 10
14. 13 mb (1 dim) x 3 volte, 4 mb, (1 dim) x 3 volte, 13 mb (36)
15. (5 mb, 1 aum) x 6 volte (42)
16-21. 42 mb (6giri)
22. (5 mb, 1 dim) x 6 volte (36)
23. 1 dim per tutto il giro (18)
Imbottire il corpo
24. (1 mb, 1 dim) x 6 volte (12)
Aggiungere imbottitura se necessario
25. 1 dim per tutto il giro (6)
Chiudere lasciando del filo per cucire. Infilare l’ago e entrare in ognuna delle asole davanti delle 6 maglie e tirare il filo, poi nasconderlo all’interno.
SOPRACCICLIA (2 in verde)
Inserire l’uncino sopra gli occhi.
1 cat per attaccare il filo, (spostare l’uncino nello spazio accanto e fare 1 mb) x 3 volte.
Chiudere e nascondere il filo all’interno.
CIUFFO (in verde)
Inserire l’uncino tra i giri 3 e 4
5 cat, partendo dalla seconda cat dall’uncino: (1 mb) x 2 volte, 1 mma, 1 ma.
Chiudere lasciando del filo per cucire il ciuffo alla testa. Nascondere il filo all’interno.
BASETTE (2 in verde)
Partendo dall’occhio, contare 3 maglie a destra e 3 in basso e inserire l’uncino.
(2 cat, 1 mbs sul corpo nello stesso punto, spostare l’uncino nello spazio tra le 2 maglie seguenti, 1 mbs) x 3 volte. Chiudere e nascondere il filo all’interno.
COLLETTO (in verde)
Inserisci l’uncino nel centro della schiena tra i giri 14 e 15.
1 cat, (spostare l’uncino nella maglia successiva, 1 mma) ripetere per tutto il giro.
1 mbs nella prima mma e chiudere. Nascondere il filo all’interno.
BRACCIA (2 in verde)
Inserire l’uncino sotto al colletto.
4 cat, partendo dalla seconda cat dall’uncino: 1 mb nelle successive 3 maglie.
Chiudere lasciando del filo per cucire. Cucire le braccia al corpo e nascondere il filo all’interno.
CAPPELLO (in rosso)
1. 6 mb in CM
2. (1 aum, 1 mb) x 3 volte (9)
3. 9 mb
4. (1 aum, 2 mb) x 3 volte (12)
5. 12 mb
6. Cambiare con bianco: (1 aum, 3 mb) x 3 volte (15)
Chiudere lasciando del filo e cucire il cappello sulla testa. Incollare un ponpon sulla punta del cappello.
Ricamare naso e bocca con una piccola porzione di filo da ricamo di colore nero.
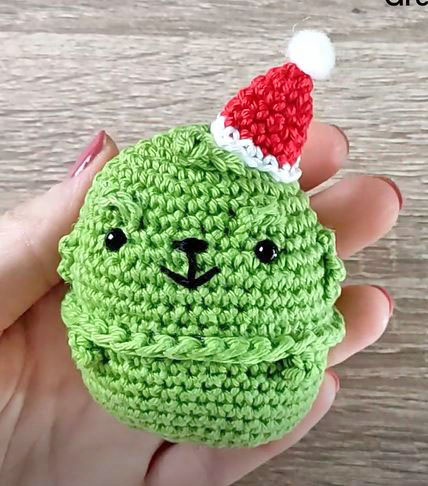
Abbiamo terminato!
Make a one-time donation
Scegli un importo
O inserisci un importo personalizzato
Your contribution is appreciated.
ENGLISH VERSION
Chibi Grinch amigurumi pattern
🎄 Chibi Grinch Crochet Christmas Ornament – Free Amigurumi Pattern
With this pattern you will be able to make a small amigurumi Grinch to hang on your Christmas tree, in just a few steps!
👉Written photo-tutorial (printable PDF) at: https://www.ravelry.com/patterns/library/chibi-grinch
👉 Free video tutorial: https://youtu.be/-SHc17MDRTs
Dimensions: Approx 9 cm/3,5 inches including the hat (using recommended hook and yarn)
🏅 Difficulty: Beginner/Intermediate, suitable for those who have already made some amigurumi
📃 Terms (US terminology)
- MR: magic ring
- ch: chain
- sc: single crochet
- inc: increase
- dec: invisible decrease
- sl st: slip stitch
- hdc: half double crochet
- dc: double crochet
- st(s): stitch(es)
- (…)rep…times: repeat stitches within brackets x times
- R: round(s)
🧶 Materials & tools:
- Cotton yarn in these colors:
Green
White
Red - n. 1 white mini pom pom
- fabric glue
- a couple of black safety eyes Ø 5 mm
- 2,75 mm hook
- a little amount of black embroidery thread
- fiberfill stuffing
- pins, yarn needle, scissors and stitch marker
👉 Additional info
I used Catania Schachenmayr cotton yarn (https://schachenmayr.com/en/yarns/catania).
Of course you can use the colors and yarn you prefer.
I worked in continuous rounds.
The body is made in one piece, starting from the head and arriving at the bottom. All the other parts are made crocheting directly on the body.
If you want, take a picture of your mini Grinch and tag me I can’t wait to see it!
HEAD & BODY (in green)
Starting from the head
R1. 6 sc in MR
R 2. 1 inc in each sc around (12)
R 3. (1 sc, 1 inc) rep 6 times (18)
R 4. (2 sc, 1 inc) rep 6 times (24)
R 5. (3 sc, 1 inc) rep 6 times (30)
R 6. (2 sc, 1 inc, 2 sc) rep 6 times (36)
R 7-9. 36 sc (3 rounds)
R 10. 13 sc (1 inc) rep 3 times, 4 sc, (1 inc) rep 3 times, 13 sc (42)
R 11-13. 42 sc (3 rounds)
Place the eyes between rounds 9 and 10
R 14. 13 sc (1 dec) rep 3 times, 4 sc, (1 dec) rep 3 times, 13 sc (36)
R 15. (5 sc, 1 inc) rep 6 times (42)
R 16-21. 42 sc (6 rounds)
R 22. (5 sc, 1 dec) rep 6 times (36)
R 23. 1 dec all around (18)
Stuff the body
R 24. (1 sc, 1 dec) rep 6 times (12)
Add more stuffing if needed
R 25. 1 dec all around (6)
Fasten off and leave a tail to sew.
Use the needle to go through each front loop of the 6 sts and pull the yarn tightly to close the hole. Weave in end.
EYEBROWS (make 2 in green)
Insert the hook above the eyes.
1 ch to attach the yarn, (move the hook in the next space and make 1 sc) rep 3 times.
Fasten off and weave in ends.
TUFT (in green)
Insert the hook between rounds 3 and 4.
5 ch, starting from the second ch from hook: (1 sc) rep 2 times, 1 hdc, 1 dc.
Fasten off leaving a end and sew the tuft to the head. Weave in ends.
SIDEBURNS (make 2 in green)
Starting from the eye, counting 3 sts on the right and 3 sts on the bottom and insert the hook.
(2 ch, 1 sl st on the body in the same point, move the hook between the next sts, 1 sl st) rep 3 times. Fasten off and weave in ends.
COLLAR (in green)
Insert the hook in the center of the back between rounds 14 and 15.
1 ch, (move the hook between the next st, 1 hdc) rep all around.
1 sl st in the first hdc and fasten off. Weave in ends.
ARMS (make 2 in green)
Insert the hook below the collar.
4 ch, starting from the second ch from hook: 1 sc in the next 3 sts.
Fasten off leaving a end to sew. Sew the arms to the body and weave in ends.
HAT (in red)
R1. 6 sc in MR
R 2. (1 inc, 1 sc) rep 3 times (9)
R 3. 9 sc
R 4. (1 inc, 2 sc) rep 3 times (12)
R 5. 12 sc
R 6. Change with white: (1 inc, 3 sc) rep 3 times (15)
Fasten off leaving a end and sew the hat to the head. Glue a pom pom on the top of the hat.
Embroider the nose and mouth with a little amount of black embroidery thread.
We finished!
Make a one-time donation
Scegli un importo
O inserisci un importo personalizzato
Your contribution is appreciated.
