
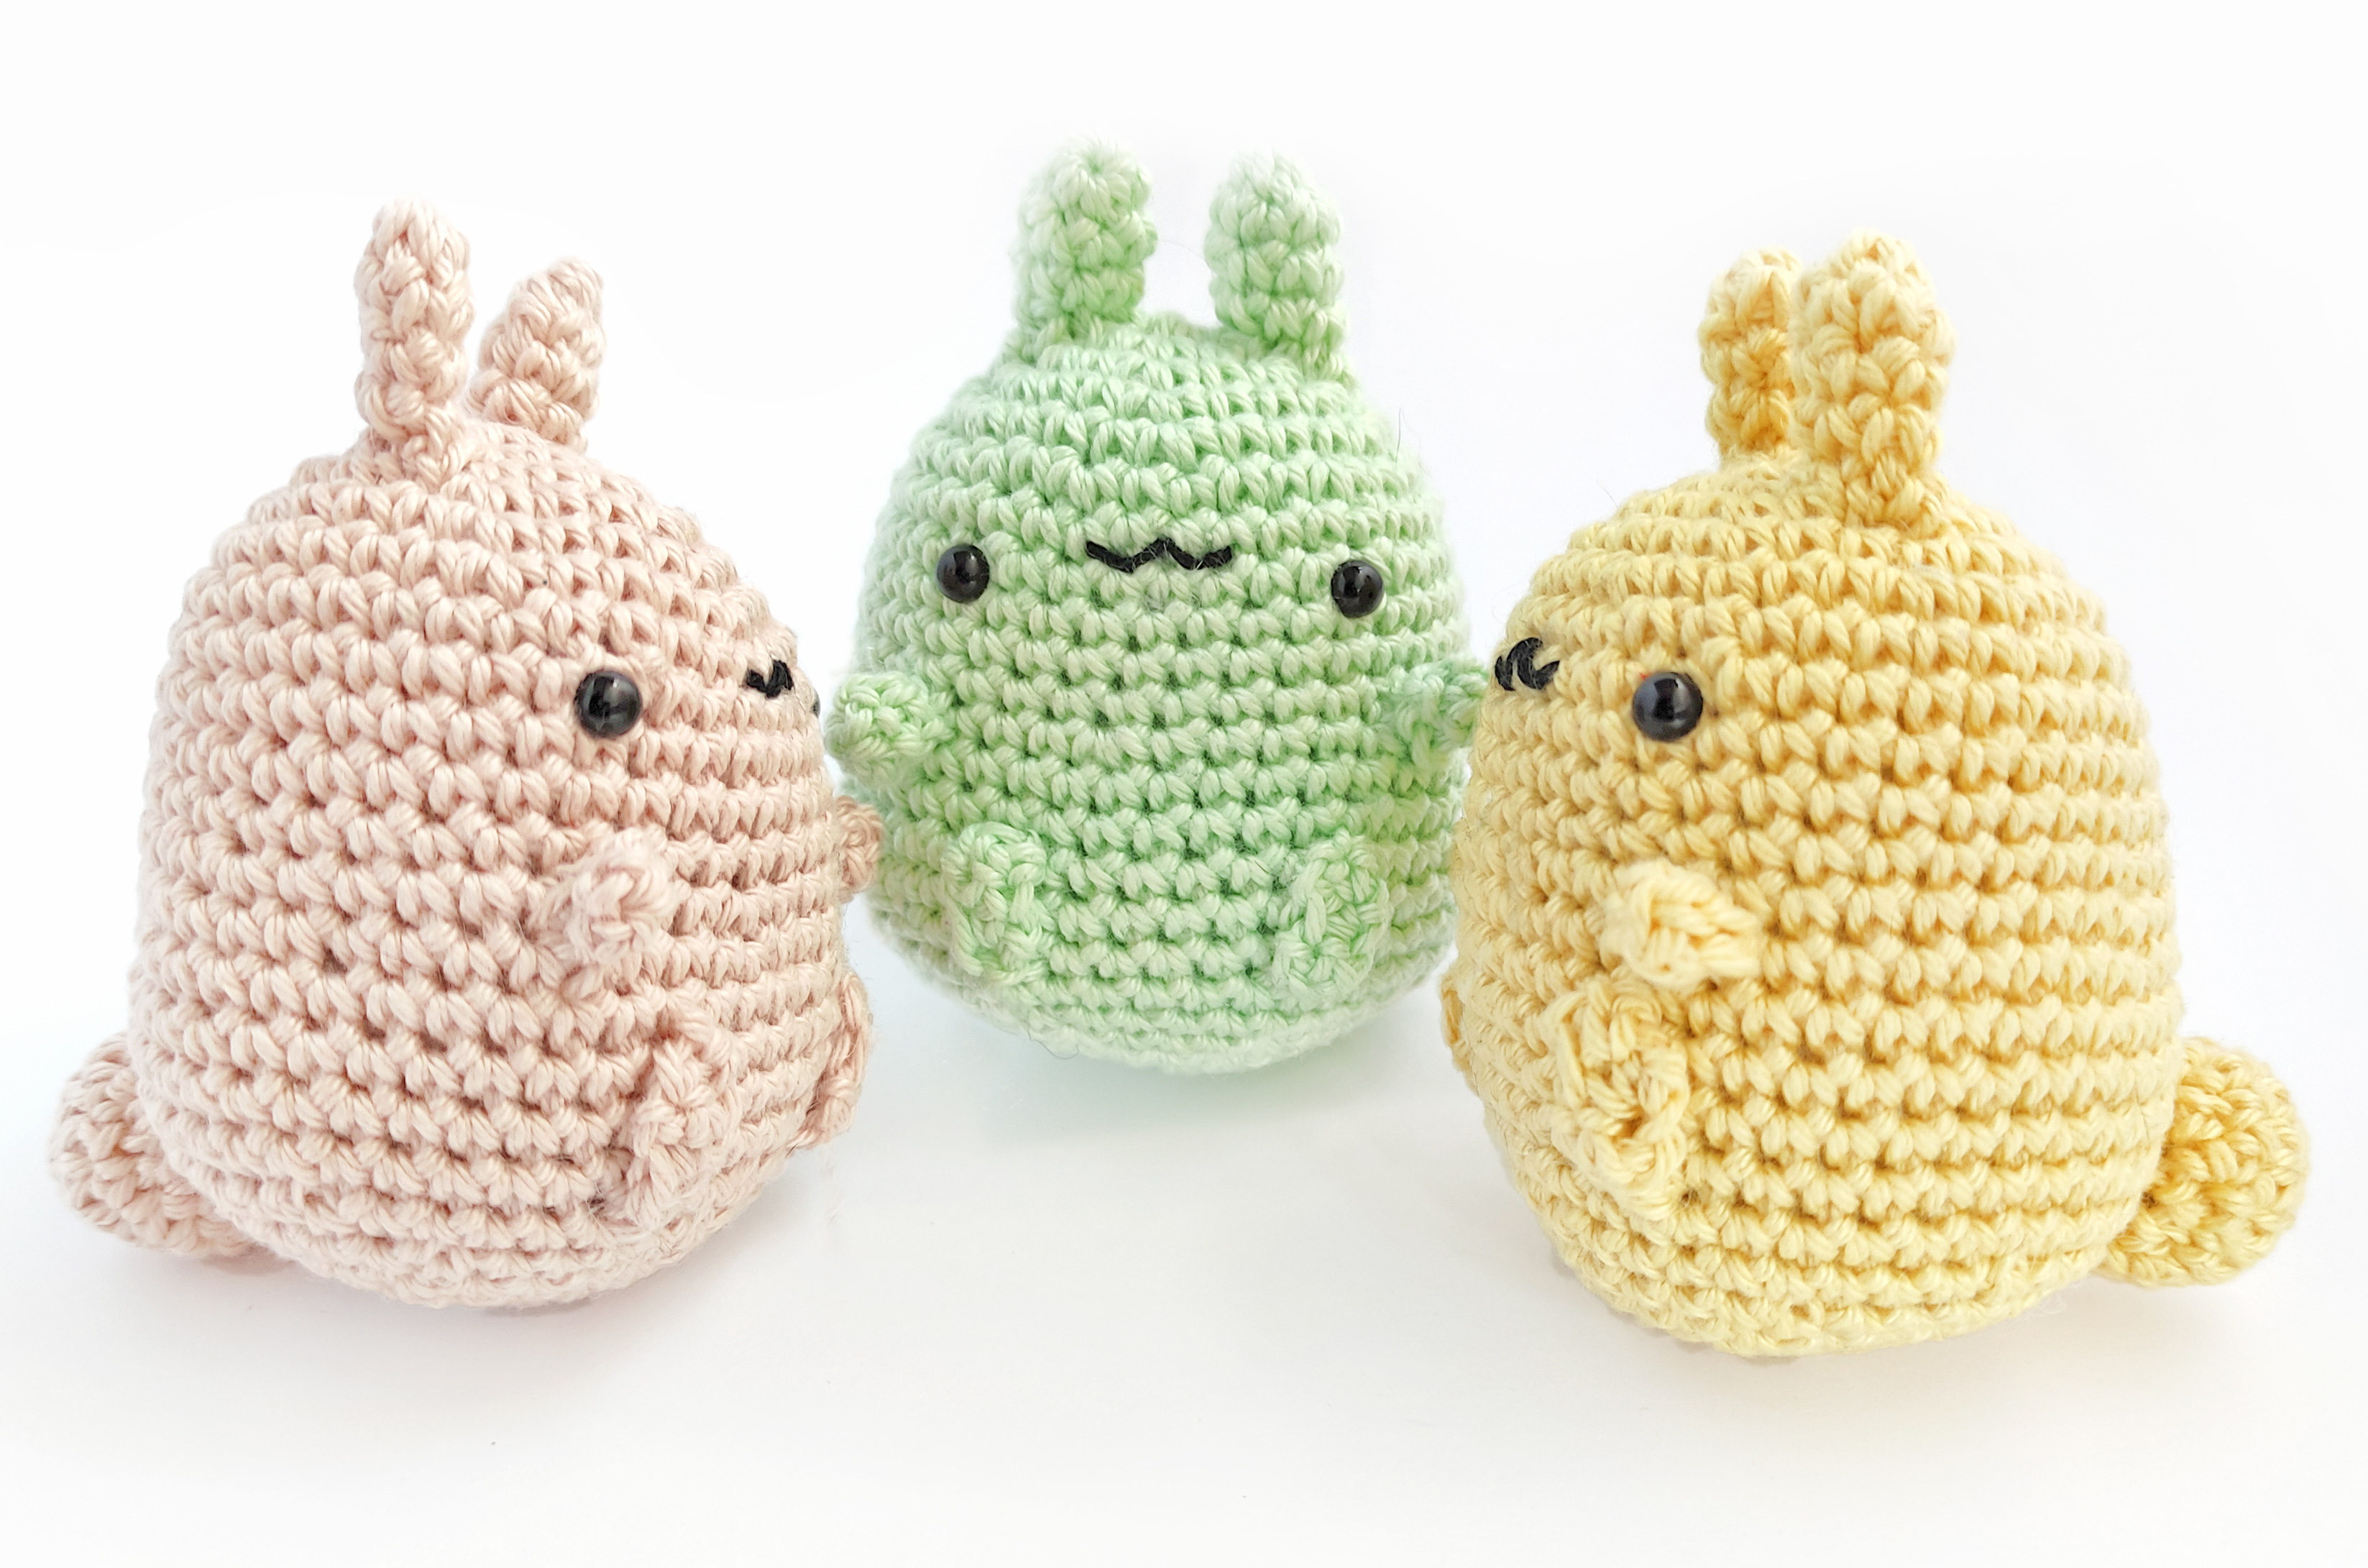
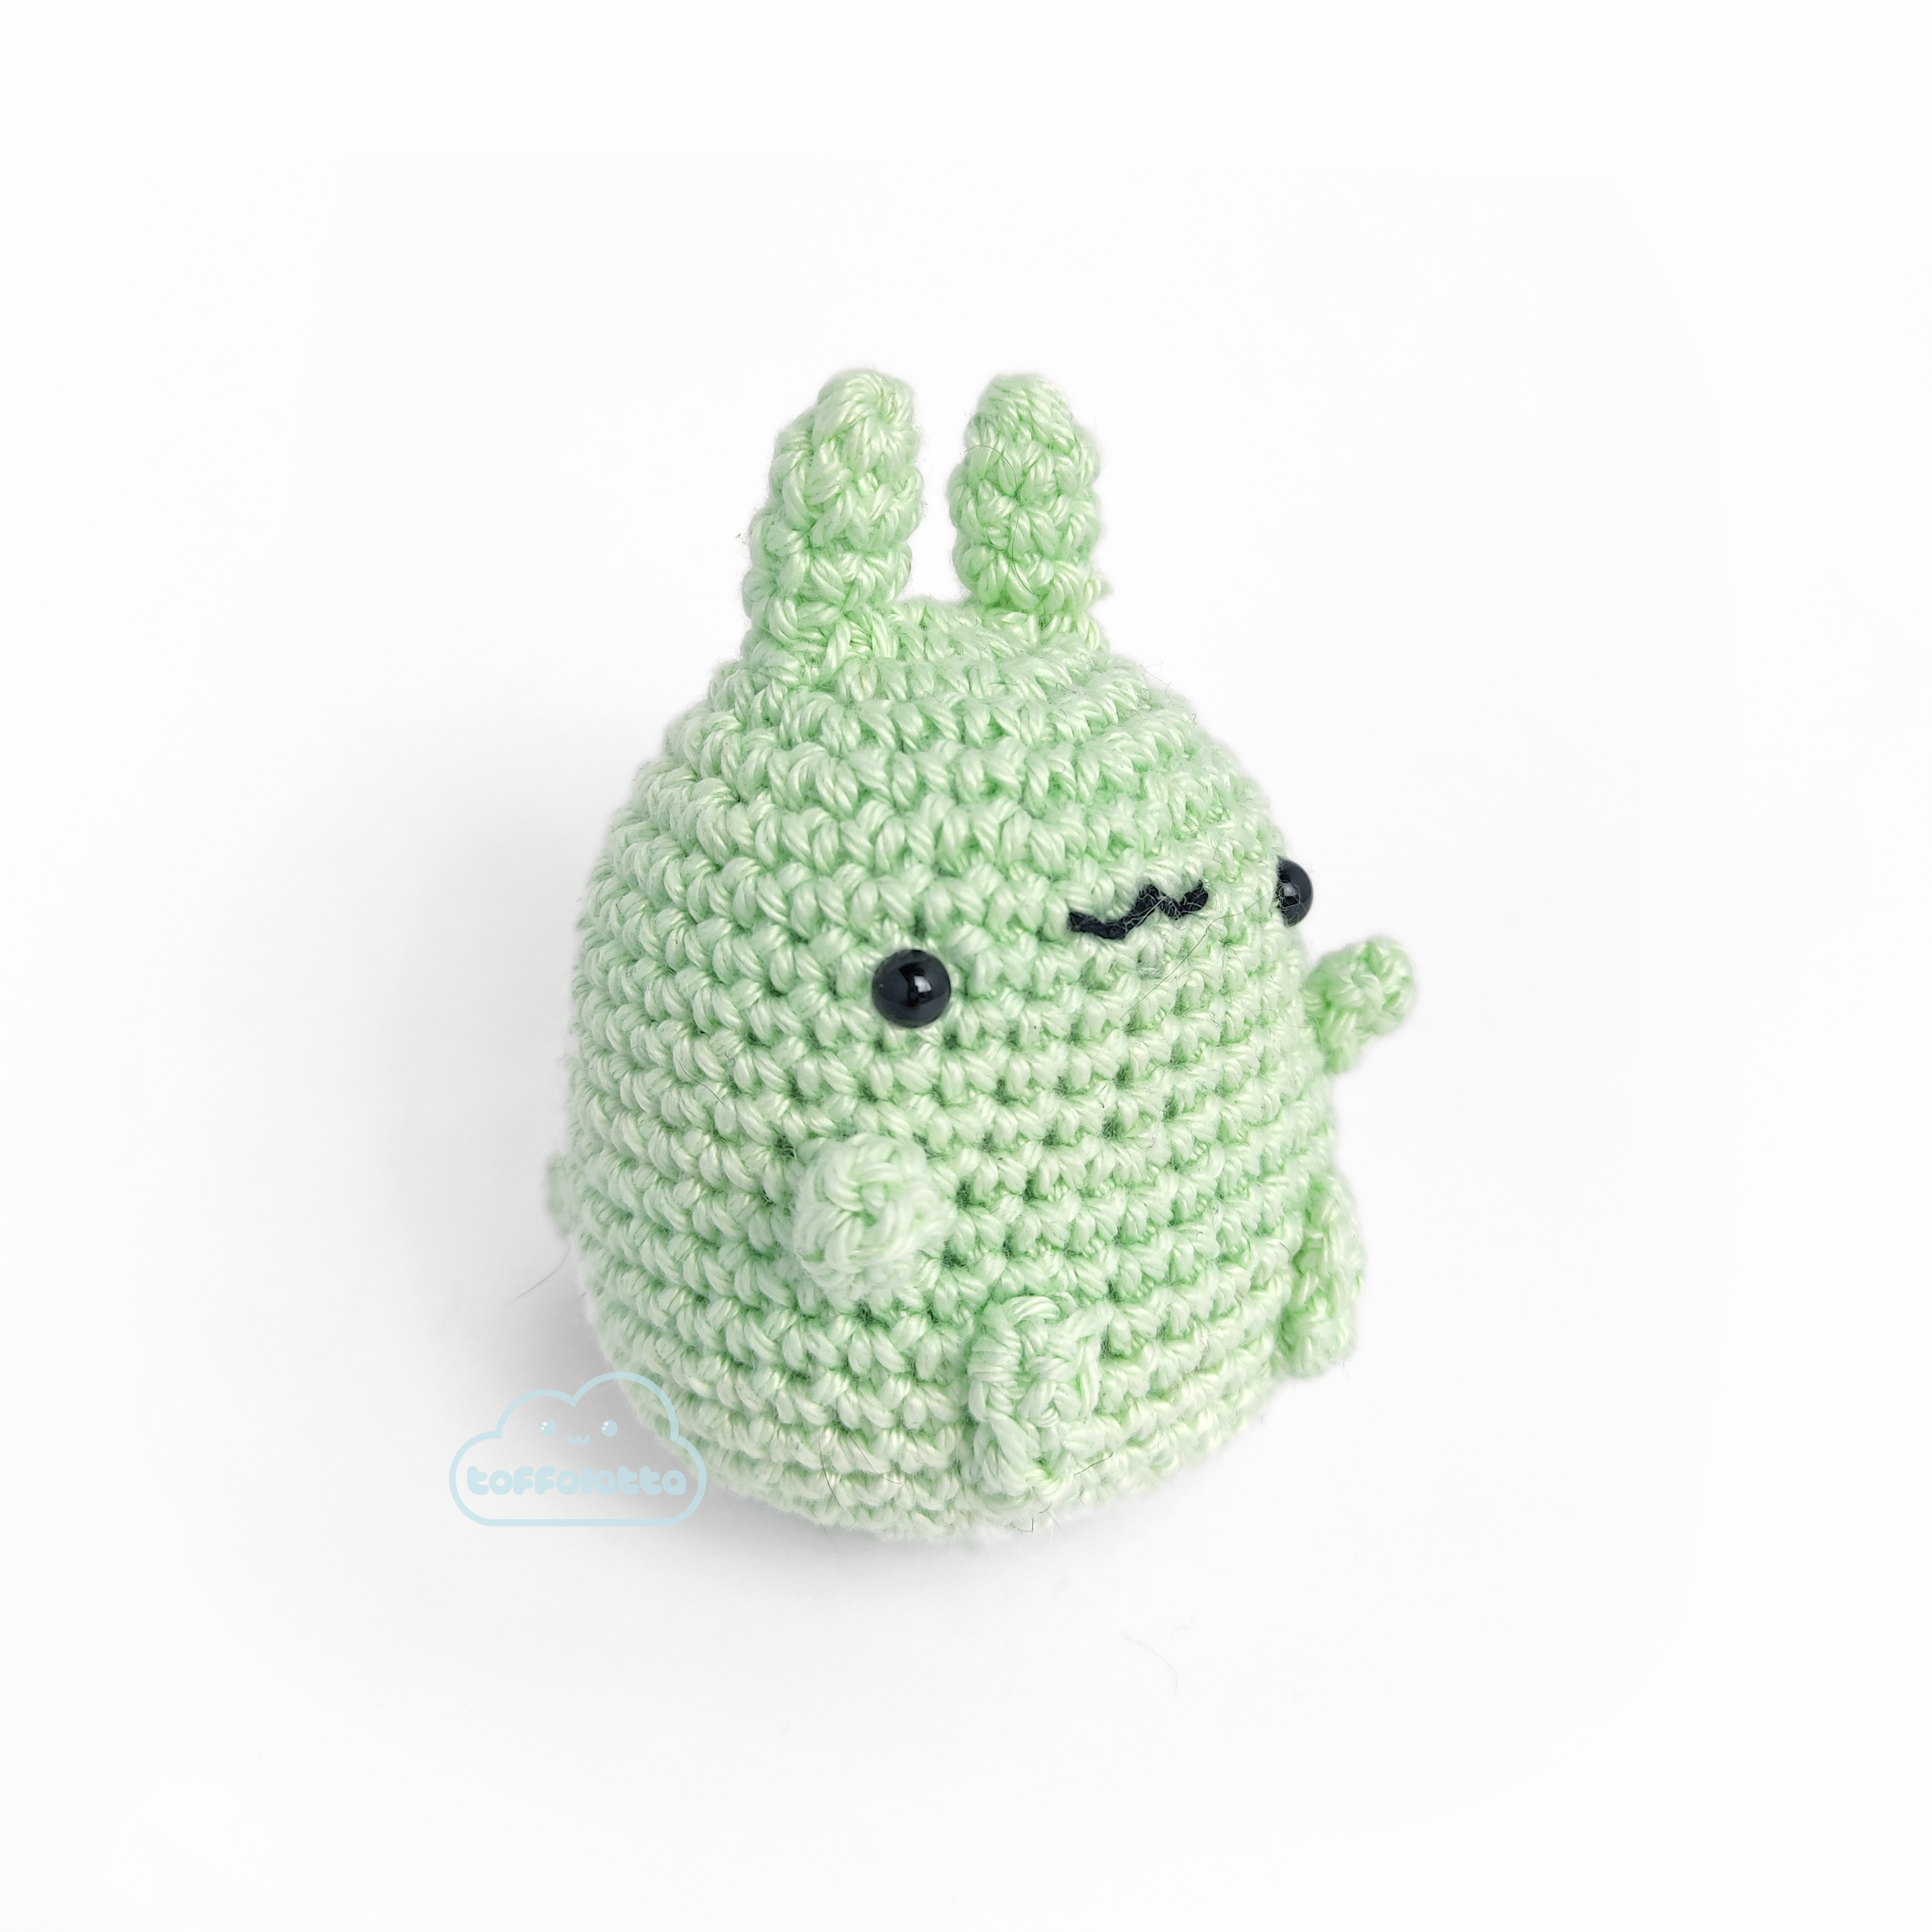
Questi coniglietti colorati rappresentano un progetto semplice e veloce perfetto per iniziare a fare pratica con l’uncinetto e gli amigurumi.
Quando realizzo un amigurumi la parte che mi piace meno è il dover cucire tante piccole parti tra loro, quindi spesso mi ingegno per ridurre al minimo le parti da cucire in modo da velocizzare il progetto.
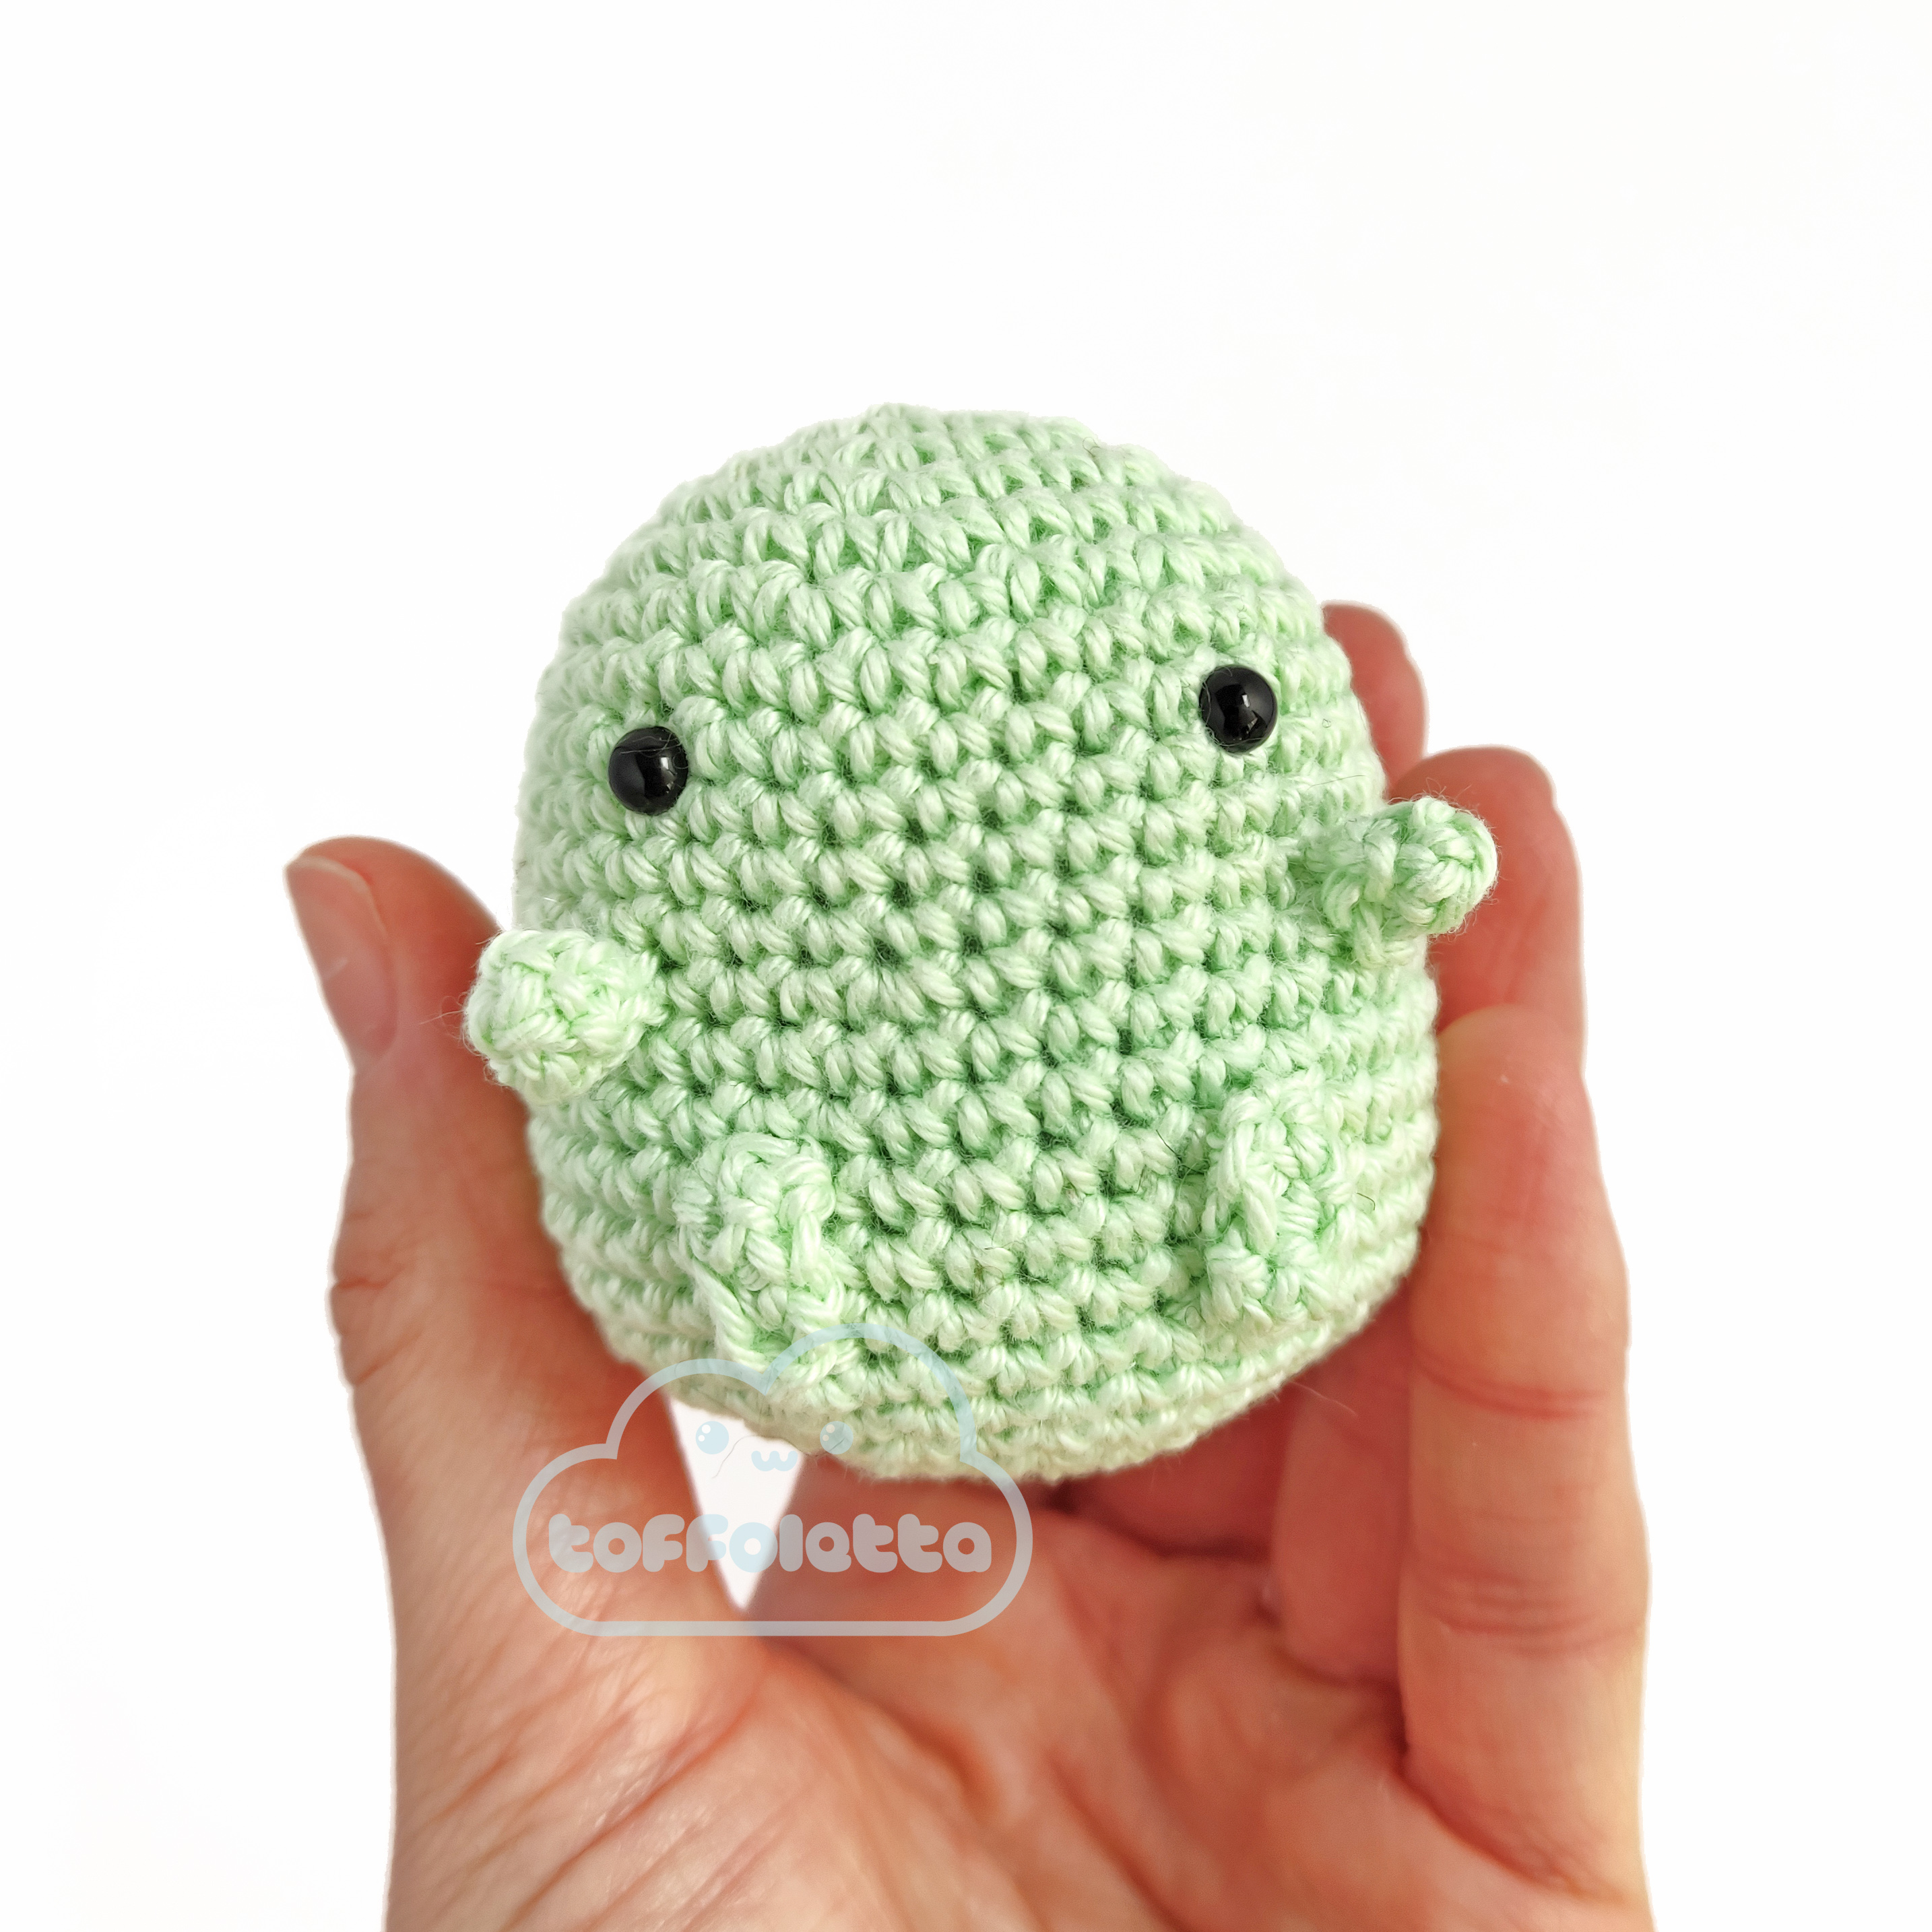
Per questi coniglietti ho progettato le zampine in modo che fossero lavorate direttamente sul corpo.
Click here for the ENGLISH VERSION
Dimensioni: con questo schema otterrai dei coniglietti alti circa 8 cm (utilizzando il filato e l’uncinetto indicati)
Difficoltà: Principiante, questo schema è perfetto per chi è alle prime armi con gli amigurumi
Punti utilizzati e abbreviazioni:
- cerchio magico: CM
- cat: catenella
- mb: maglia bassa
- aum: aumento
- dim: diminuzione invisibile
- (…)x … volte: ripetere la sequenza tra parentesi
il numero di volte indicato - tot: indica il totale delle maglie di ogni giro
Materiali:
- uncinetto n. 2,75 mm
- filato di cotone nel colore che preferisci (qualche grammo)
- piccola quantità di filo da ricamo di colore nero
- occhietti in plastica diametro 5 mm
- imbottitura in poliestere
- ago, forbici e segnapunti
Info aggiuntive
Io ho utilizzato il cotone Catania Schachenmayr, ma naturalmente puoi utilizzare il filato e l’uncinetto che preferisci.
Lo schema è realizzato con la lavorazione in tondo a spirale.
Il corpo del coniglio è lavorato in un unico pezzo. Le zampe sono realizzate lavorando direttamente sulla superficie del corpo. Le orecchie e la coda sono realizzate a parte e poi cucite al corpo.
TESTA E CORPO
1. 6 mb nel CM.
2. 1 aum in ogni maglia: tot 12
3. (1 mb, 1 aum) x 6 volte: tot 18
4. (2 mb, 1 aum) x 6 volte: tot 24
5. (3 mb, 1 aum) x 6 volte: tot 30
6. (2 mb, 1 aum, 2 mb) x 6 volte: tot 36
7-11. 36 mb (5 giri)
12. (8 mb, 1 aum) x 4 volte: tot 40
13-18. 40 mb (6 giri)
Posizionare gli occhi tra l’8° e il 9° giro lasciando 8 maglie tra uno e l’altro.
19. (8 mb, 1 dim) x 4 volte: tot. 36 mb
20. (4 mb, 1 dim) x 6 volte: tot. 30 mb
21. (3 mb, 1 dim) x 6 volte: tot. 24 mb
22. (2 mb, 1 dim) x 6 volte: tot. 18 mb
Iniziare ad imbottire
23. (1 mb, 1 dim) x 6 volte: tot. 12 mb
Terminare di imbottire
12. 1 dim per tutto il giro: tot 6
Chiudere lasciando del filo per cucire. Infilare l’ago e entrare in ognuna delle asole davanti delle 6 maglie e tirare il filo, poi nasconderlo all’interno.
ORECCHIE
1. 6 mb nel CM.
2-4. 6 mb (3 giri)
Chiudere lasciando del filo per cucire.
ZAMPE SUPERIORI
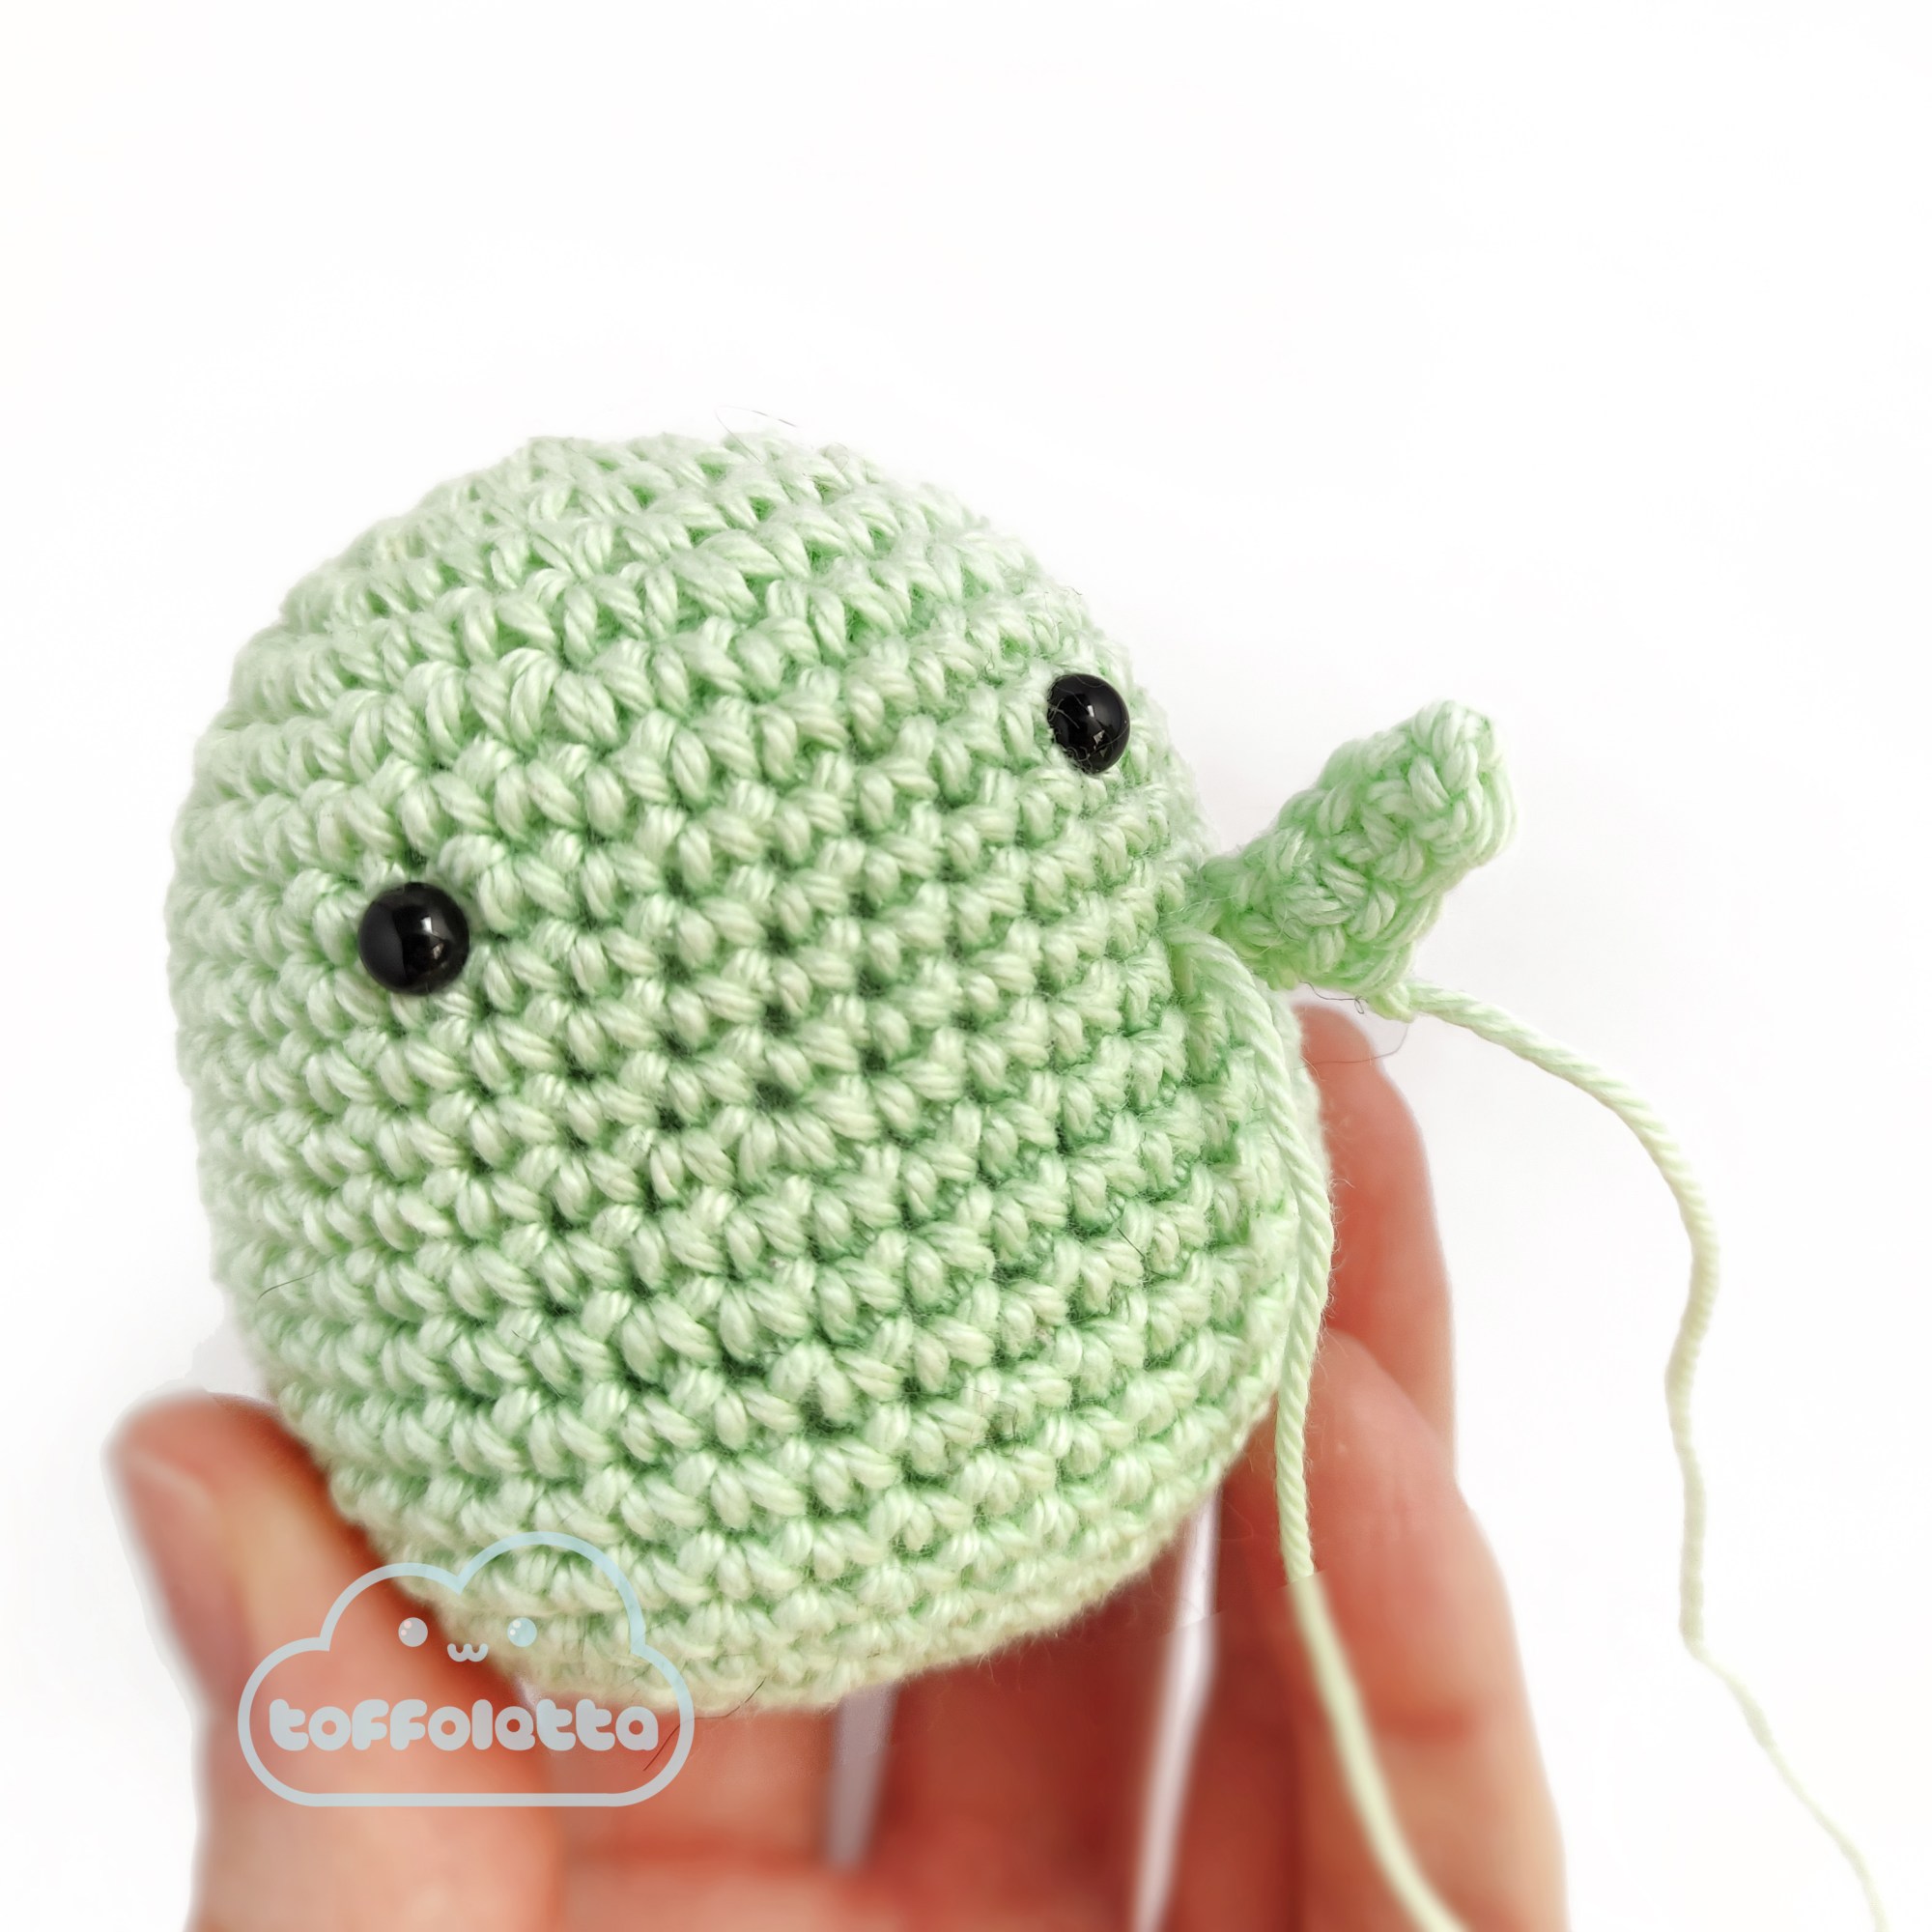
1. Inserire l’uncino nella maglia che si trova 3 giri sotto l’occhio destro e lavorare 6 catenelle. foto
2. A partire dalla seconda catenella dall’uncino lavorare 1 mb in ogni maglia: tot. 5 mb.
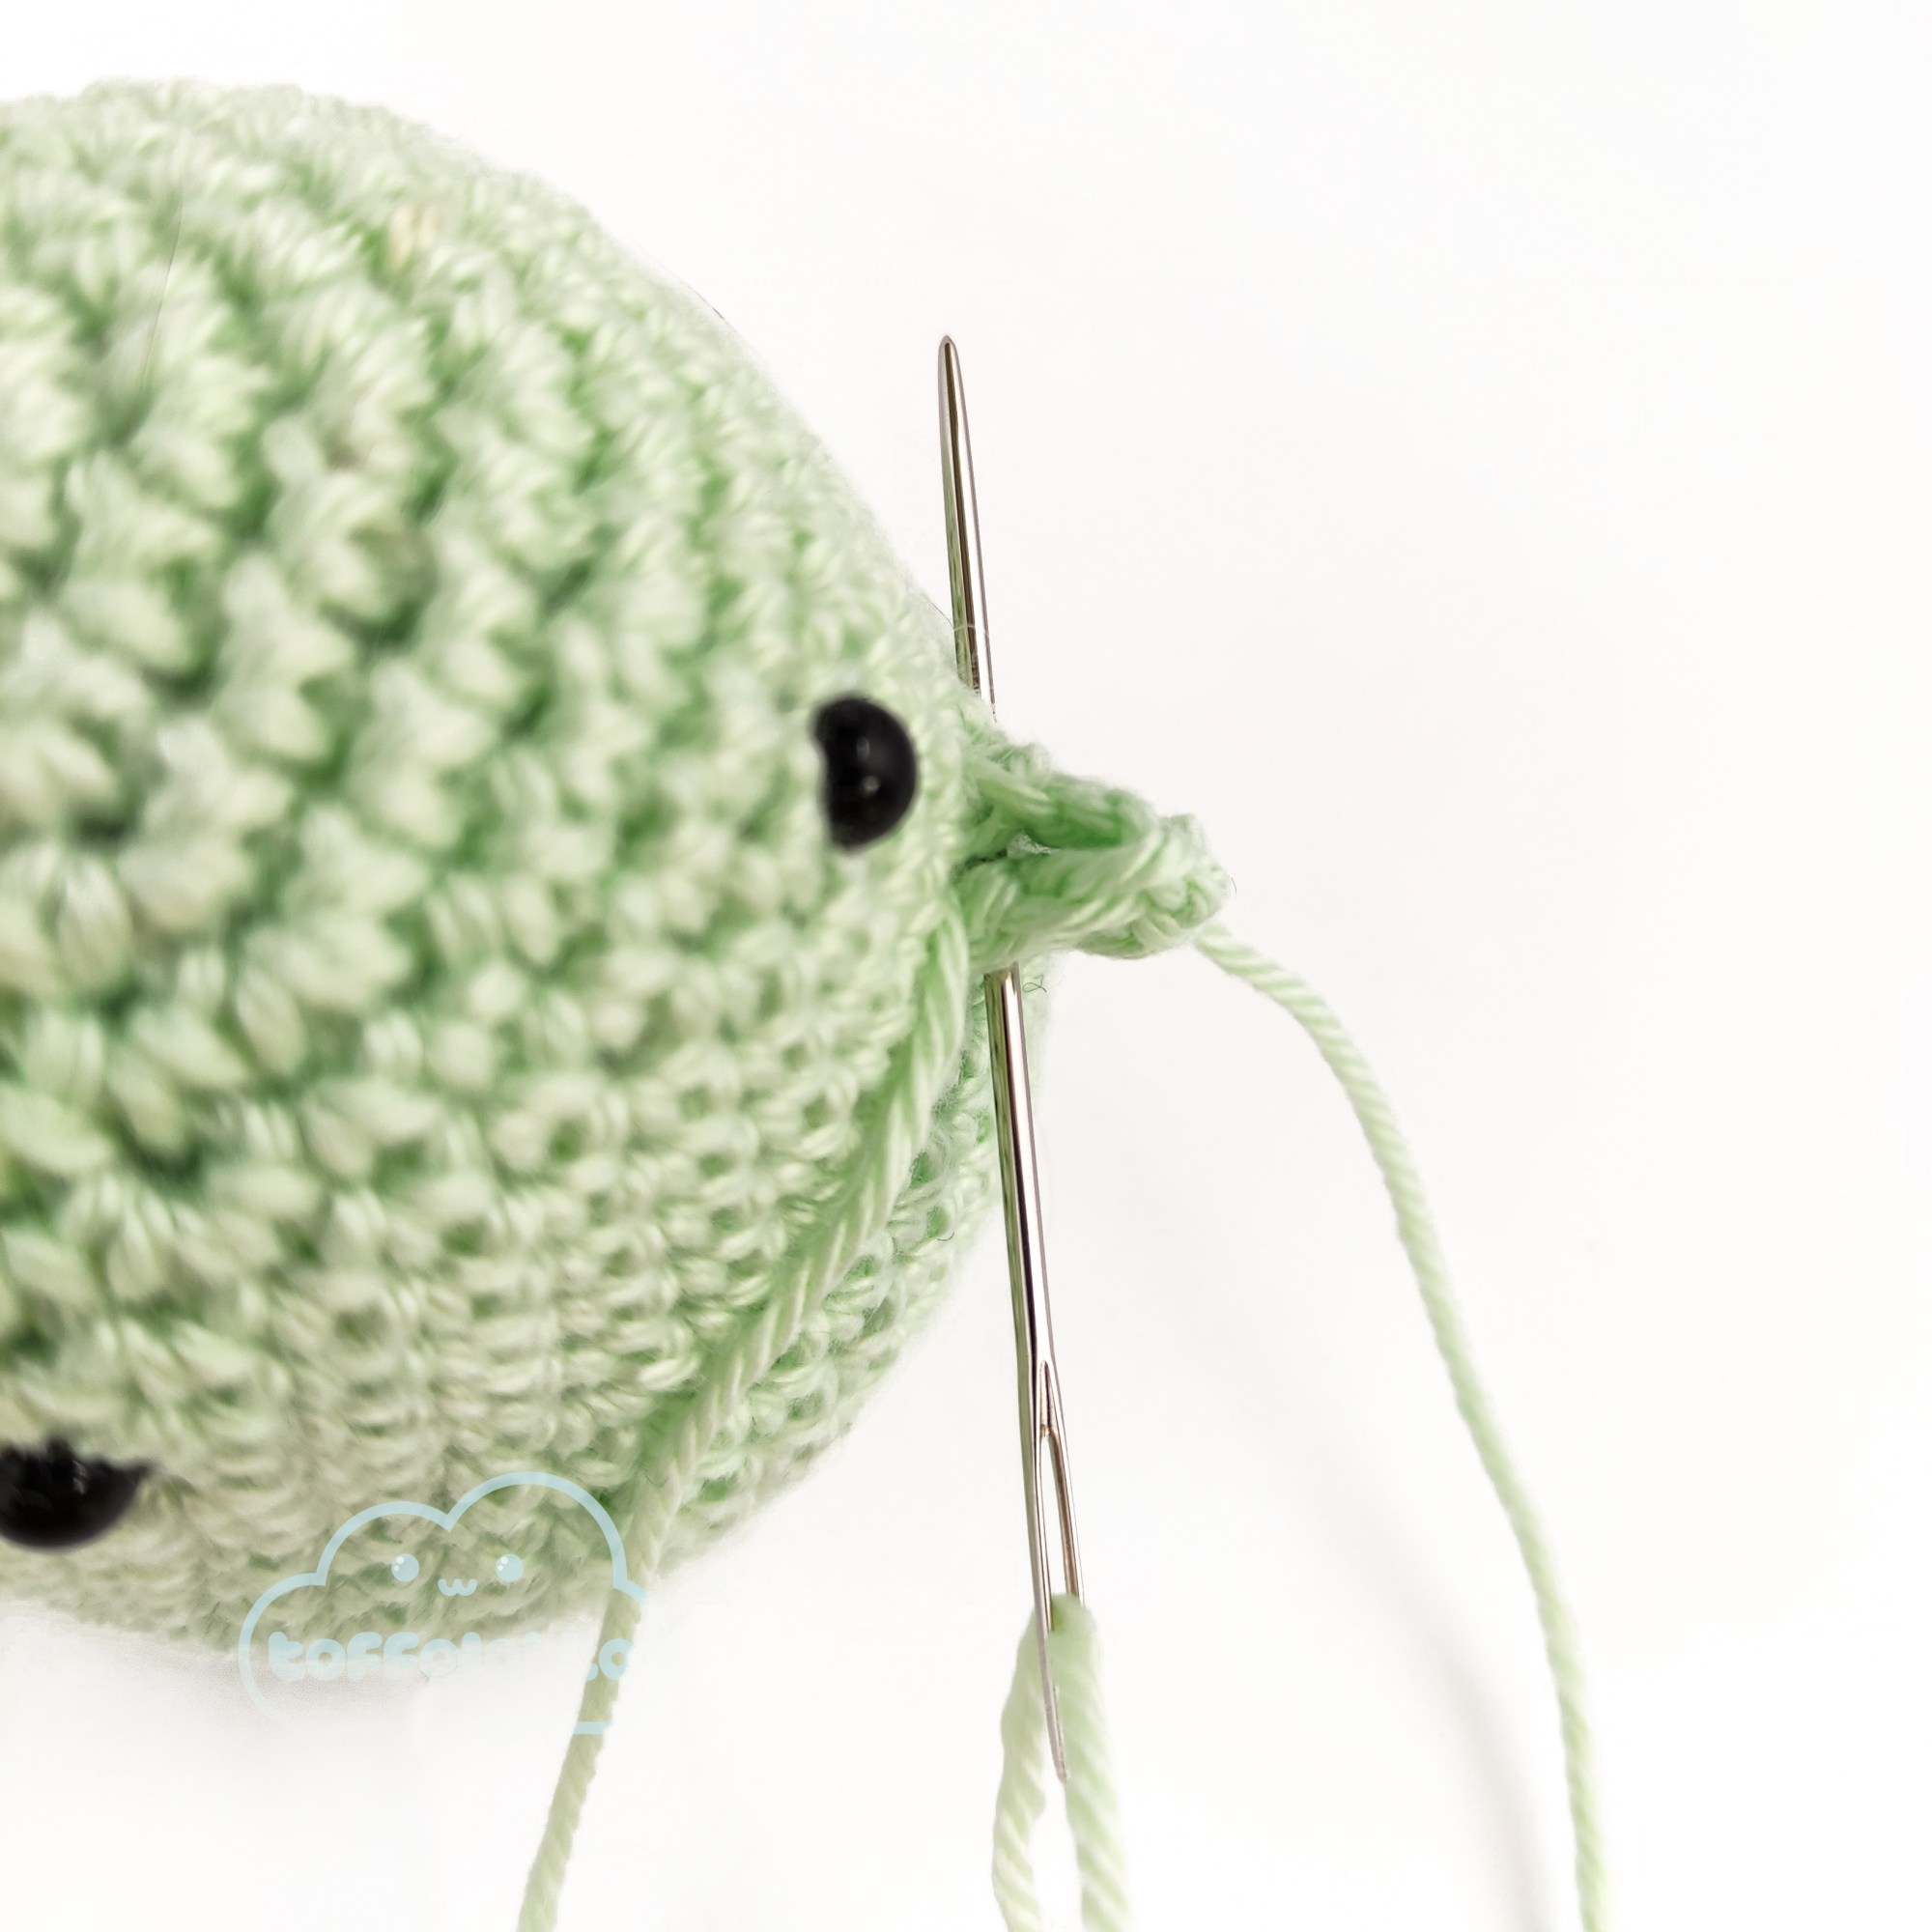
Piegare la zampina a metà in modo che la punta della zampa combaci con l’inizio, infilare l’ago e cucire prendendo insieme i 2 lembi della zampa per fissarli al corpo.
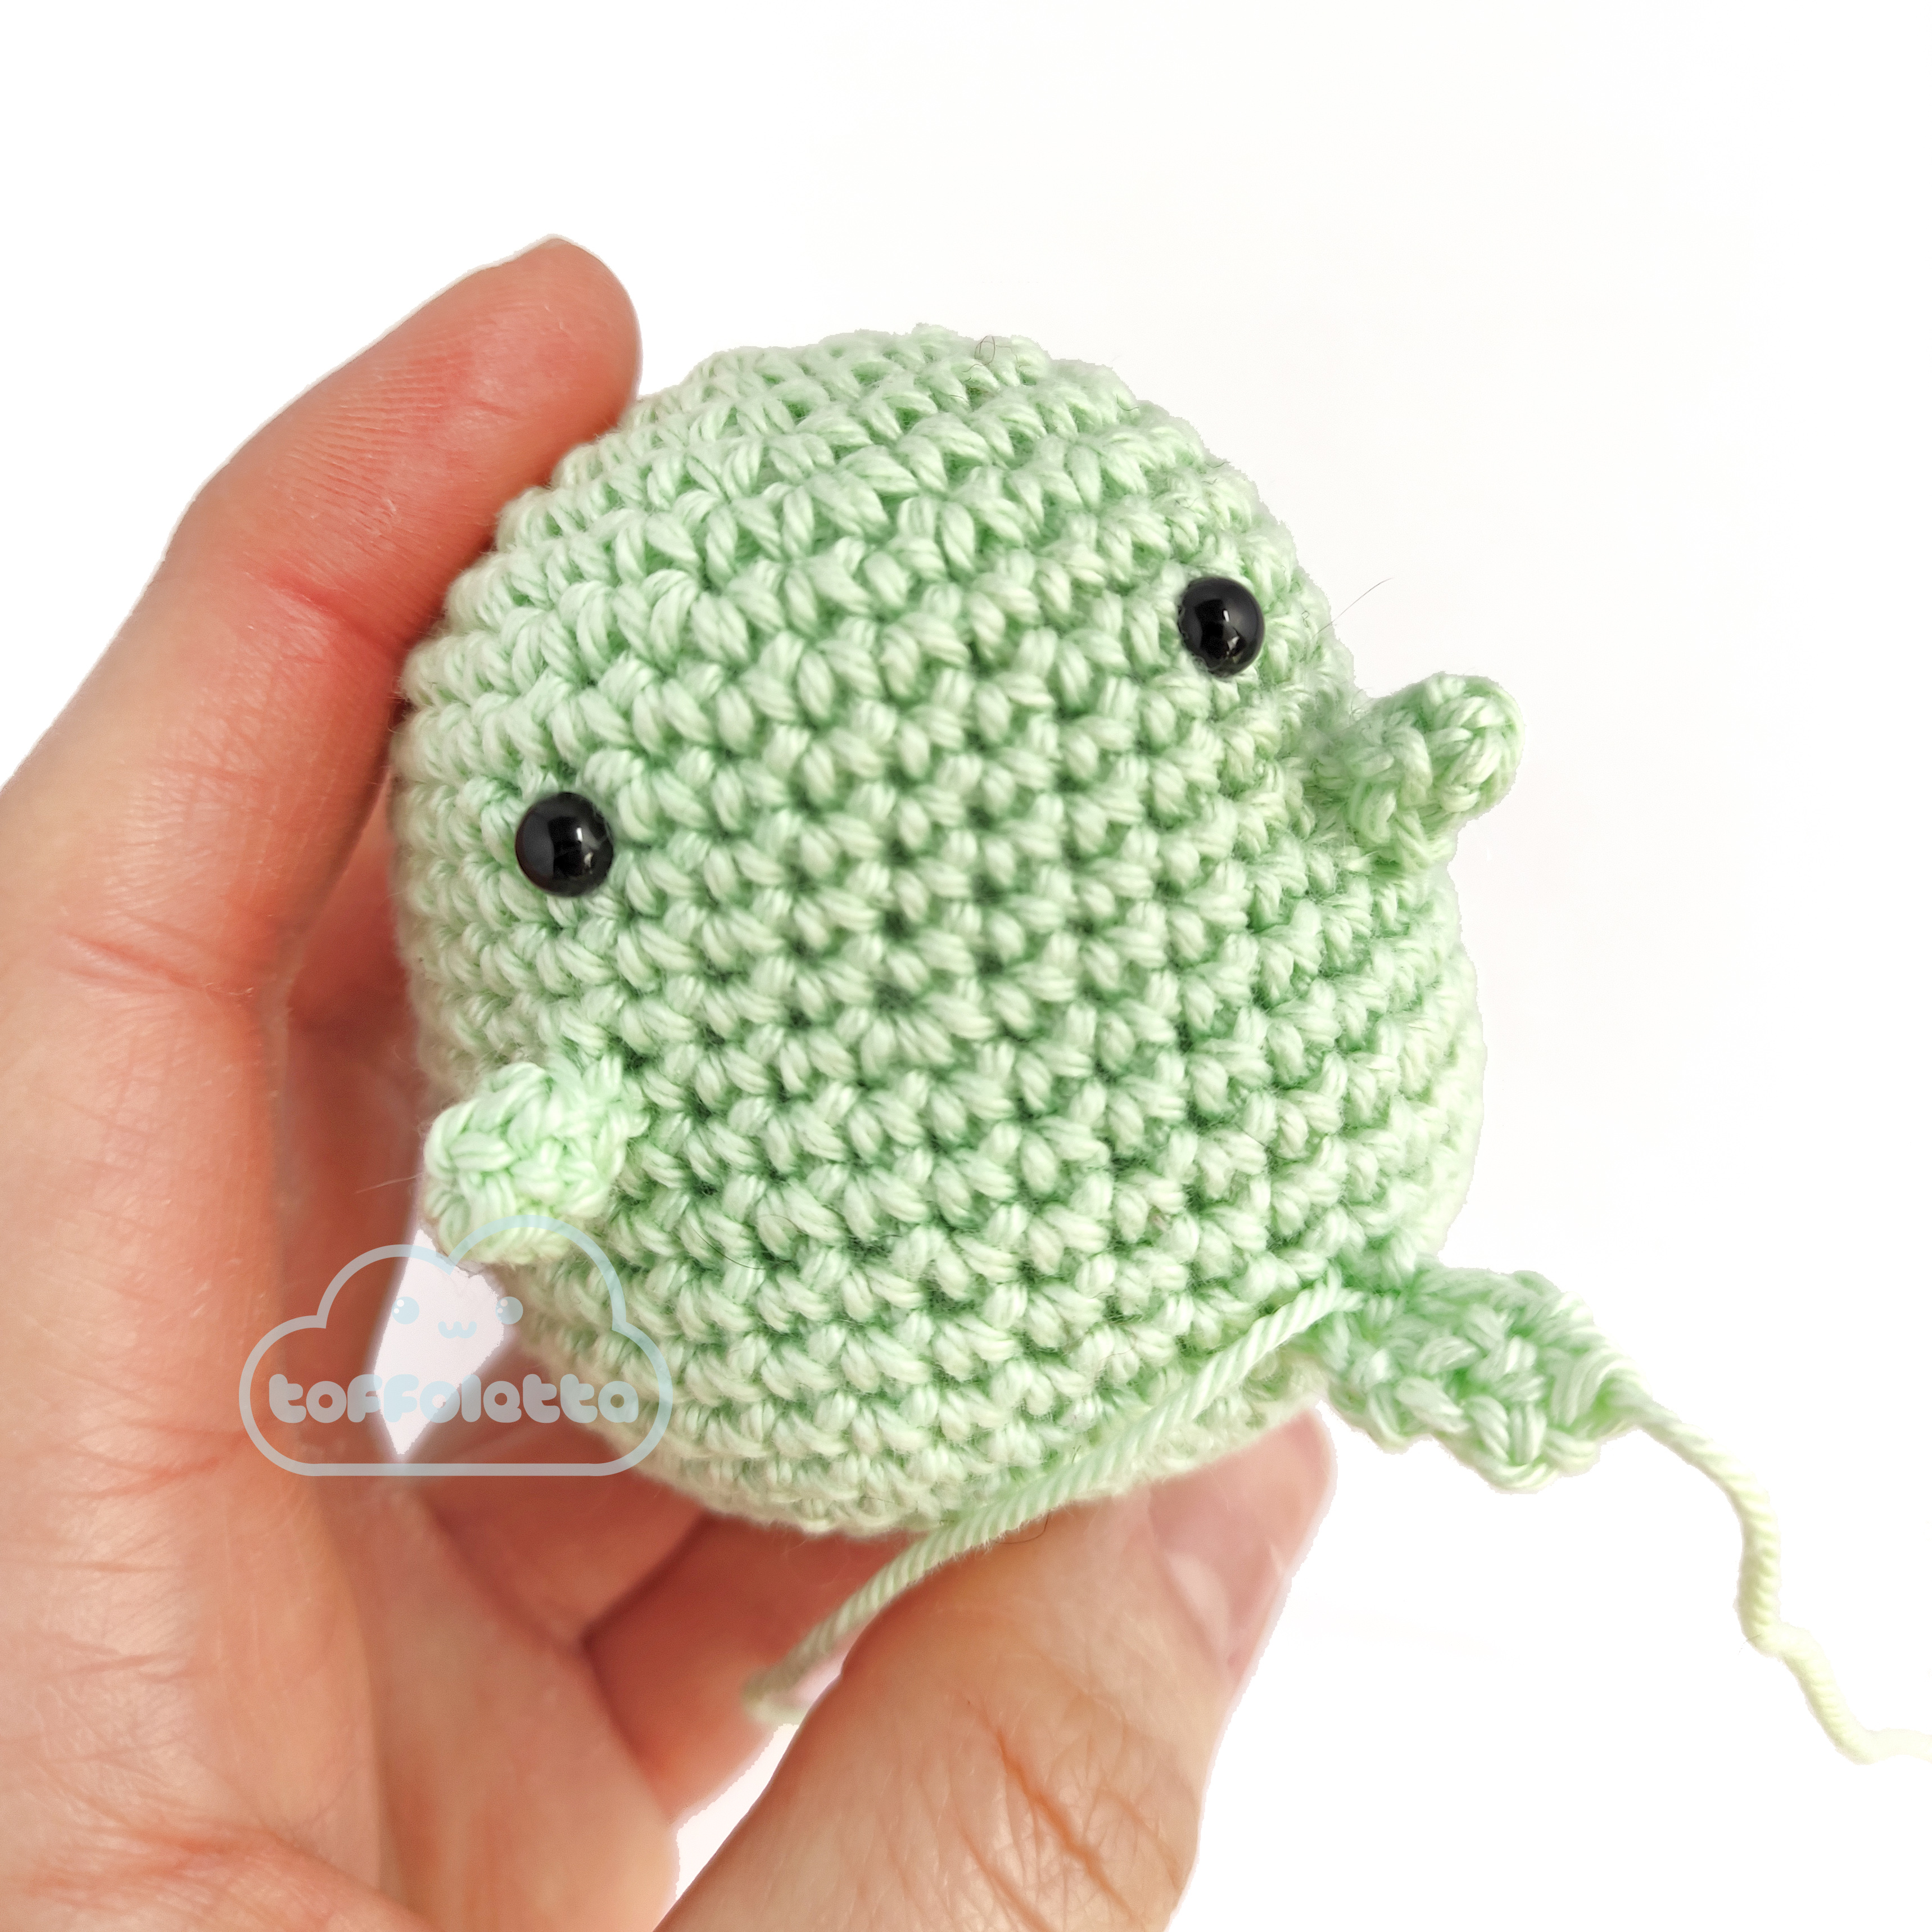
Cucire bene la zampina al corpo e poi nascondere il filo all’interno.
Ripetere sotto l’altro occhio per l’altra zampa.


ZAMPE INFERIORI
1. Inserire l’uncino tra i giri 17 e 18, prendendo sempre l’occhio come punto di riferimento,
lavorare 1 cat per attaccare il filo, 1 mb nello stesso punto della catenella, 1 mb entrando con l’uncino nella maglia accanto: tot. 2 mb, poi 1 cat per voltare
2-3. 1 mb in ognuna delle 2 maglie, 1 cat e girare
4. 1 dim e chiudere lasciando del filo per cucire
Infilare l’ago e cucire solo la punta della zampina al corpo, poi nascondere il filo all’interno.
Ripetere dall’altro lato per l’altra zampa.


CODA
1. 5 mb nel CM
2. 1 aum in ogni maglia: tot 10
3. (1 mb, 1 aum) x 5 volte: tot 15
4. 15 mb
5. (1 mb, 1 dim) x 5 volte: tot 10
Chiudere lasciando del filo per cucire.
Imbottire leggermente.
ASSEMBLAGGIO
Cucire le orecchie al centro della testa lasciando circa 5 mm tra di loro.
Cucire la coda sulla schiena tra i giri 14 e 19.
Ricamare il musetto con del filo da ricamo di colore nero.
Abbiamo terminato!
ENGLISH VERSION
These colorful bunnies are a quick and easy project perfect for getting started with crochet and amigurumi practice.
When I design an amigurumi, the part I like least is that of having to sew many small parts together, so I often try to minimize the ‘sewing’ phase in order to speed up the project. For these bunnies I designed the paws so that they could be worked directly on the body.
Dimensions: with this pattern you will get a bunny about 8 cm/3 inches high (using the yarn and crochet indicated)
Difficulty: Beginner
Terms (US terminology)
– MR: magic ring
– ch: chain
– sc: single crochet
– inc: increase
– dec: invisible decrease
– st(s): stitch(es)
– (…)rep…times: repeat stitches within brackets x times
– R: round
Materials:
- cotton yarn in the color of your choise (a few grams)
- a couple of 5 mm safety eyes
- a small amount of black embroidery yarn
- 2,75 mm crochet hook
- pins, yarn needle, scissors and stitch marker
- fiberfill for stuffing
Additional info
I used Catania Schachenmayr cotton, but of course you can use the colors and yarn you prefer.
I worked in continuous rounds. The bunny’s body is worked in one piece. The paws are made by working directly on the surface of the body. The ears and tail are made separately and then sewn to the body.
HEAD AND BODY
R1. 6 sc in MR (6 sts)
R2. 2 sc in each sc around. (12 sts)
R3. (1 sc, 1 inc) rep 6 times (18 sts)
R4. (2 sc, 1 inc) rep 6 times (24 sts)
R5. (3 sc, 1 inc) rep 6 times (30 sts)
R.6 (4sc, 1 inc) rep 6 times (36 sts)
R7-11. 36 sc (5 rounds)
R12. (8 sc, 1 inc) rep 4 times (40 sts)
R13-18. 40 sc (6 rounds)
Place the eyes between rounds 8 and 9 leaving 8 sts apart.
R19. (8 sc, 1 dec) rep 4 times (36 sts)
R20. (4 sc, 1 dec) rep 6 times (30 sts)
R21. (3 sc, 1 dec) rep 6 times (24 sts)
R22. (2 sc, 1 dec) rep 6 times (18 sts)
Start stuffing
R23. (1 sc, 1 dec) rep 6 times (12 sts)
Finish stuffing
R12. 1 dec all around (6 sts)
Fasten off leaving a end.
Thread the needle and use it to go through each front loop of the 6 sts and pull the thread tightly to close the hole. Weave in end.
EARS (2 pieces)
R1. 6 sc in MR
R2-4. 6 sc (3 rounds)
Fasten off leaving a end.
UPPER PAWS
R1. Insert the hook in the stitch 3 rounds below the right eye: 6 ch
R2. Starting from the 2° chain from hook: 1 sc in each stitch (5 sts)
Fasten off and leave a end for sewing the paw to the body.
Fold the paw in half so that the tip of the paw matches with the beginning, thread the needle and sew by taking the 2 paw’s edges together to secure them to the body.
Sew the paw to the body well and then hide the yarn inside.
Repeat a second time to make the other paw.
LOWER PAWS
R1. As already done for the upper paws, insert the hook between rounds 17 and 18, taking the eye like point of reference
1 ch to attach the yarn, 1 sc in the same point, insert the hook in the next space between 2 sts: 1 sc, 1 ch and turn (2 sts)
R2-3. 1 sc in each st, 1 ch and turn
R4. 1 dec
Fasten off leaving a end to sew.
Thread the needle and sew only the tip of the paw to the body, then hide the thread inside.
Repeat on the other side for the other paw.
TAIL
R1. 5 sc in the MR.
R2. 1 inc in each st (10 sts)
R3. (1 sc, 1 inc) rep 5 times (15 sts)
R4. 15 sc
R5. (1 sc, 1 dec) rep 5 times (10 sts)
Fasten off leaving a end to sew.
Stuff lightly.
ASSEMBLY
Sew the ears in the center of the head leaving about 5 mm apart.
Sew the tail in the back between rounds 14 and 19.
Embroider the mouth with black embroidery thread.
We’re done!

Una risposta a "Bunny Amigurumi"